Introduction
Vapi is a powerful platform that enables both developers and non-technical users to create conversational workflows seamlessly. By leveraging the Blocks Workflow feature, you can design complex conversations with conditional logic, tool integrations, and more. In this tutorial, we’ll guide you through the process of creating a blocks workflow to book a demo with Quantstruct. This workflow will include two paths:- Scheduling a future time for the demo.
- Qualifying the prospect before scheduling a demo.
Table of Contents
- Prerequisites
- Key Concepts
- Step 1: Access the Vapi Dashboard
- Step 2: Navigate to the Blocks Section
- Step 3: Create a New Blocks Workflow
- Step 4: Name Your Workflow
- Step 5: Configure the Start Block
- Step 6: Add Flow Controls
- Step 7: Add the Schedule Demo Block
- Step 8: Insert Variables
- Step 9: Save and Create the Workflow
- Conclusion
Prerequisites
- An active Vapi account.
- Basic understanding of conversational workflows.
- Access to the Quantstruct demo scheduling process (for context).
Key Concepts
- Blocks Workflow: A visual interface for designing conversational flows using blocks that represent different actions or messages.
- Start Block: The entry point of your workflow where the conversation begins.
- Flow Controls: Elements that allow you to manage the conversation flow based on user responses (e.g., conditions, loops).
- Tool Call Block: A block used to integrate external tools or services, such as scheduling a demo.
- Variables: Placeholders used to personalize messages by inserting dynamic content.
Step 1: Access the Vapi Dashboard
Log in to your Vapi account to access the dashboard.Step 2: Navigate to the Blocks Section
On the left-hand menu, click on “Blocks” to view existing workflows or create a new one.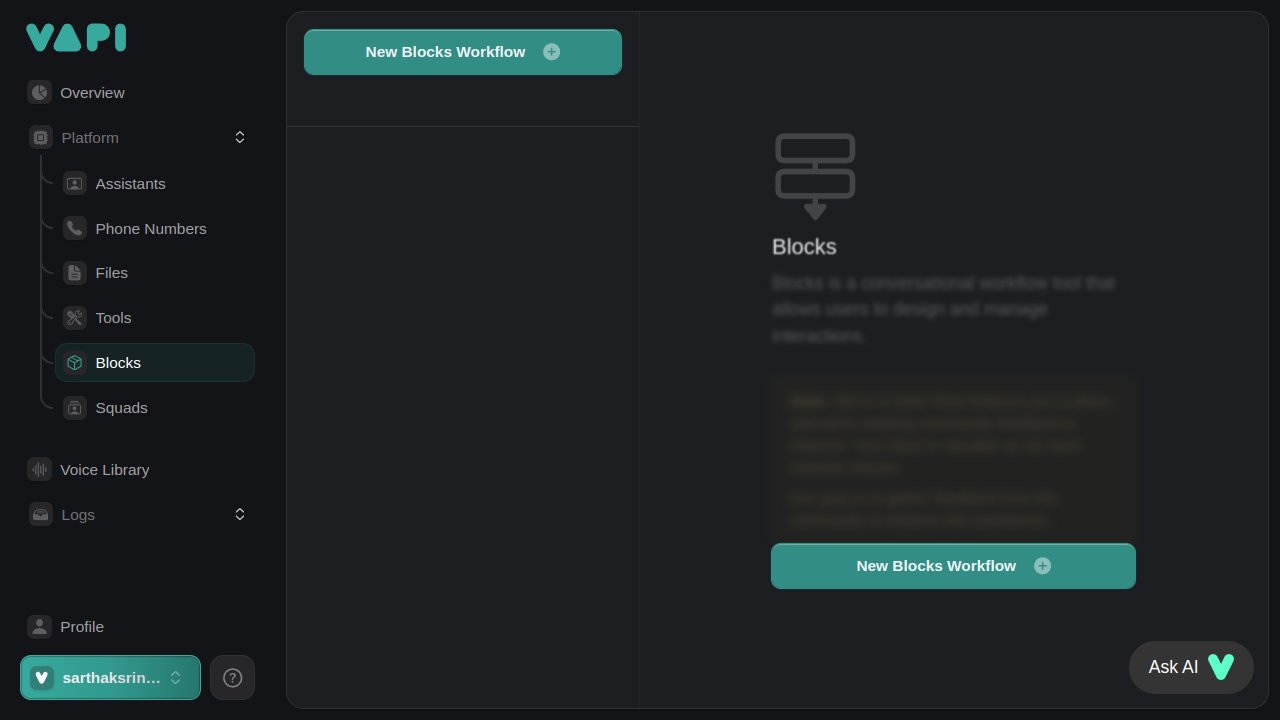
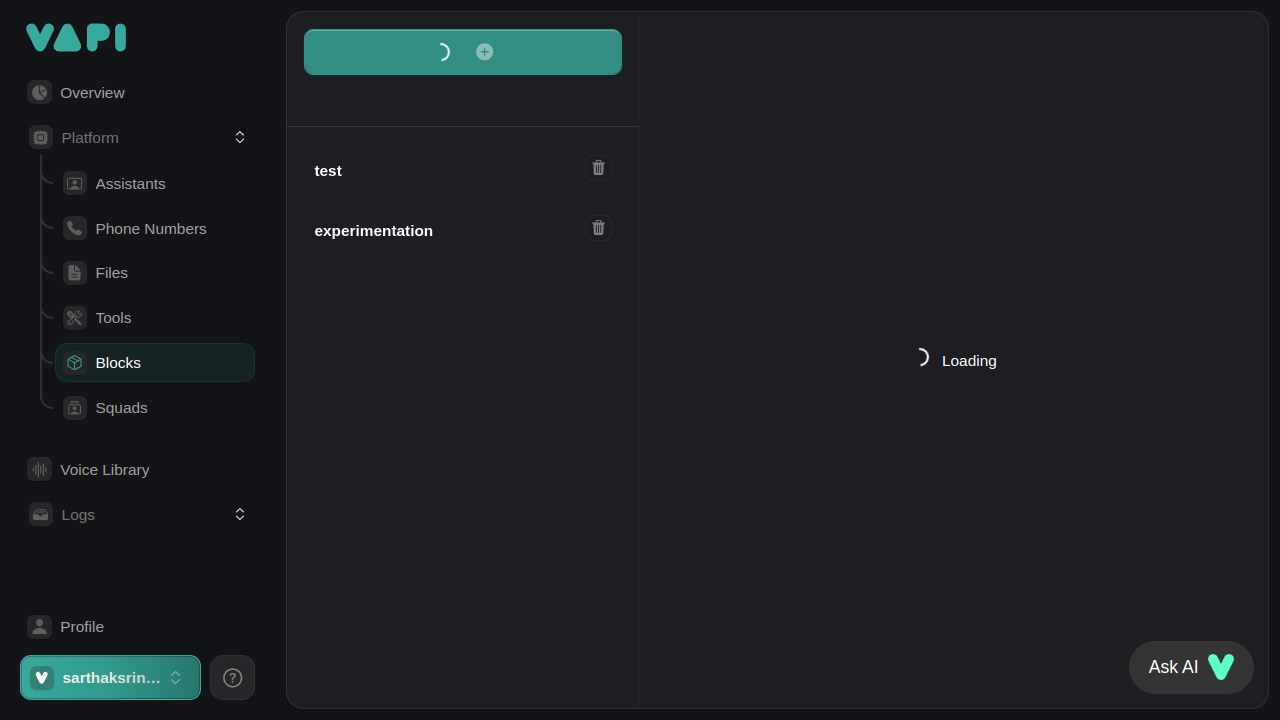
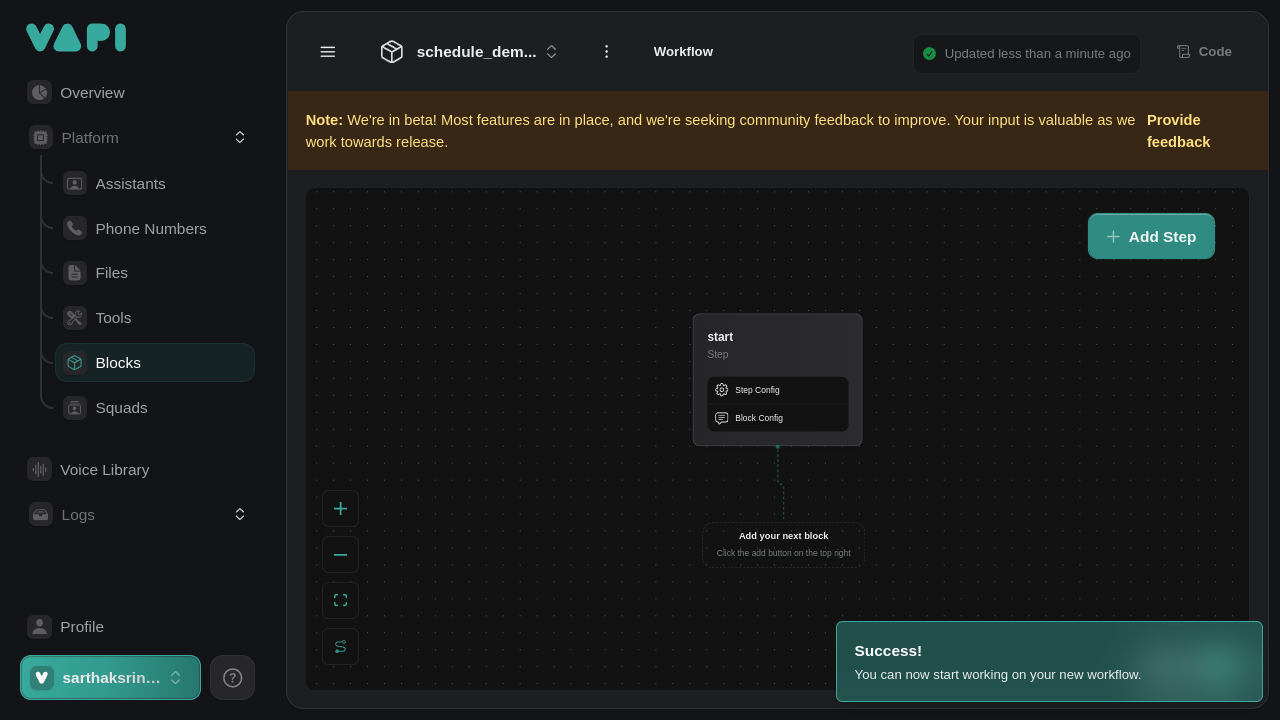
Step 3: Create a New Blocks Workflow
Click on “New Blocks Workflow” to start creating a new workflow.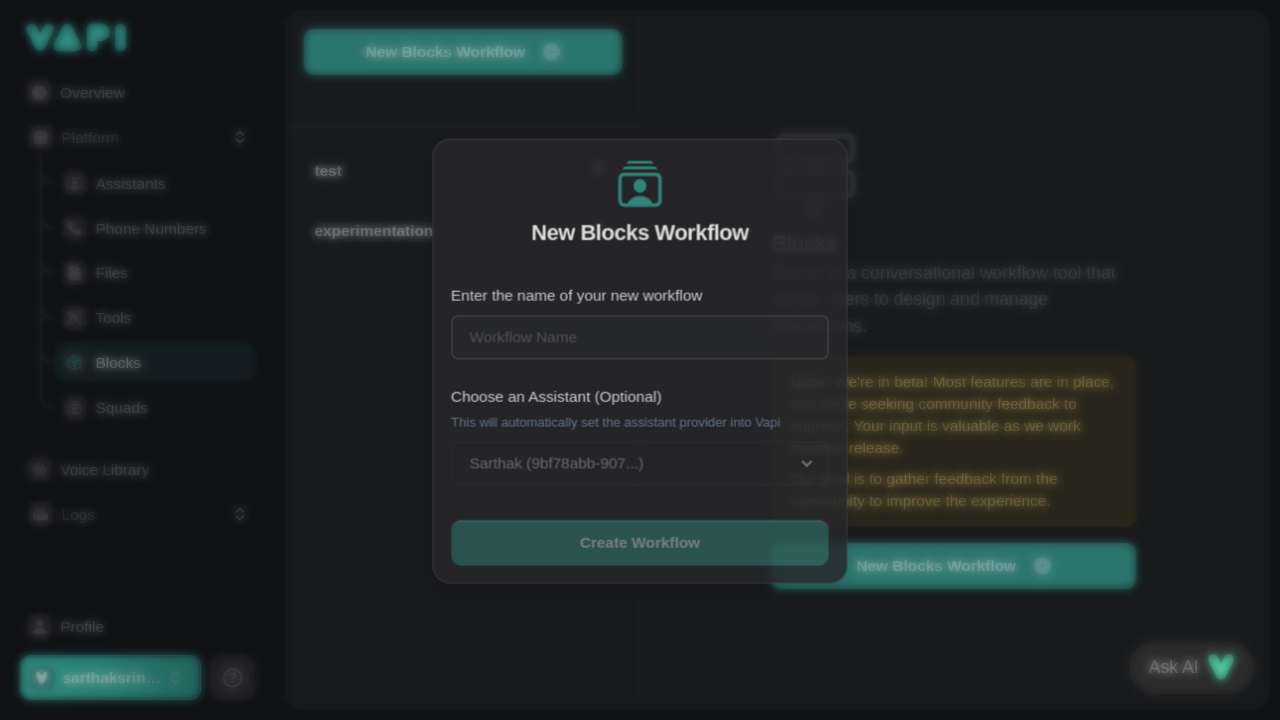
Step 4: Name Your Workflow
Provide a descriptive name for your workflow, such as “Schedule Demo Quantstruct”.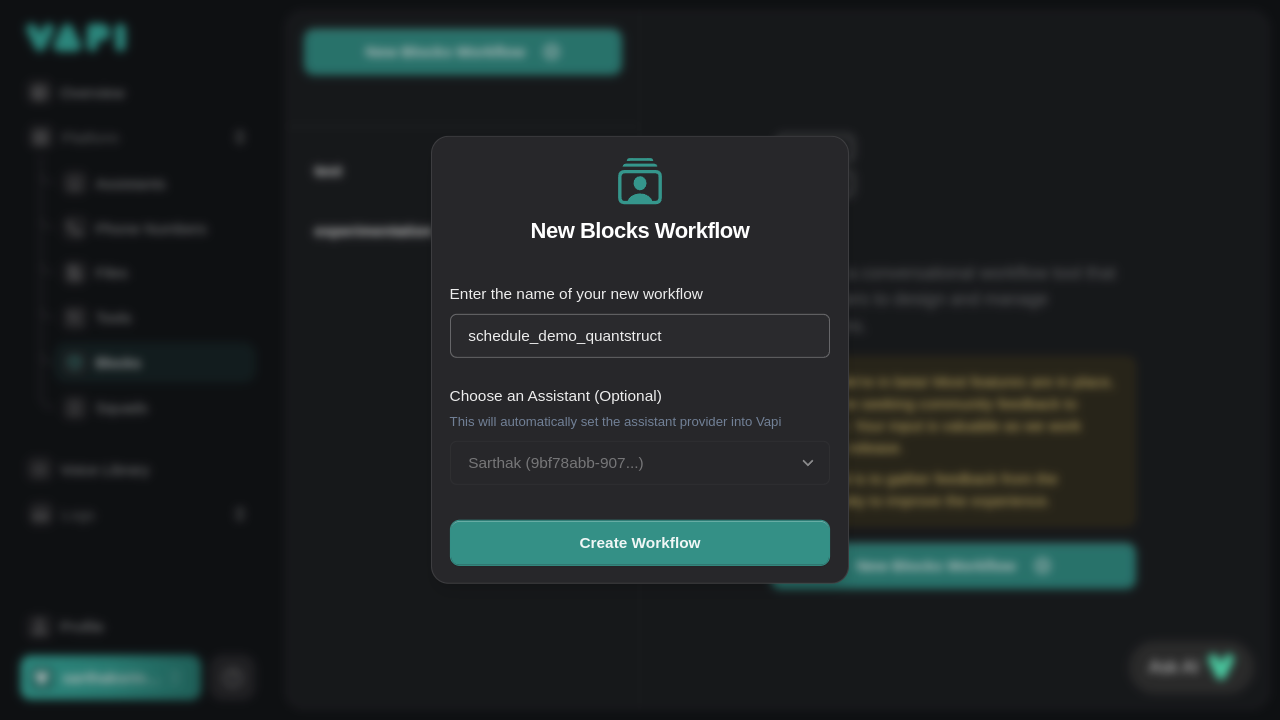 Click on “Create Workflow” to proceed.
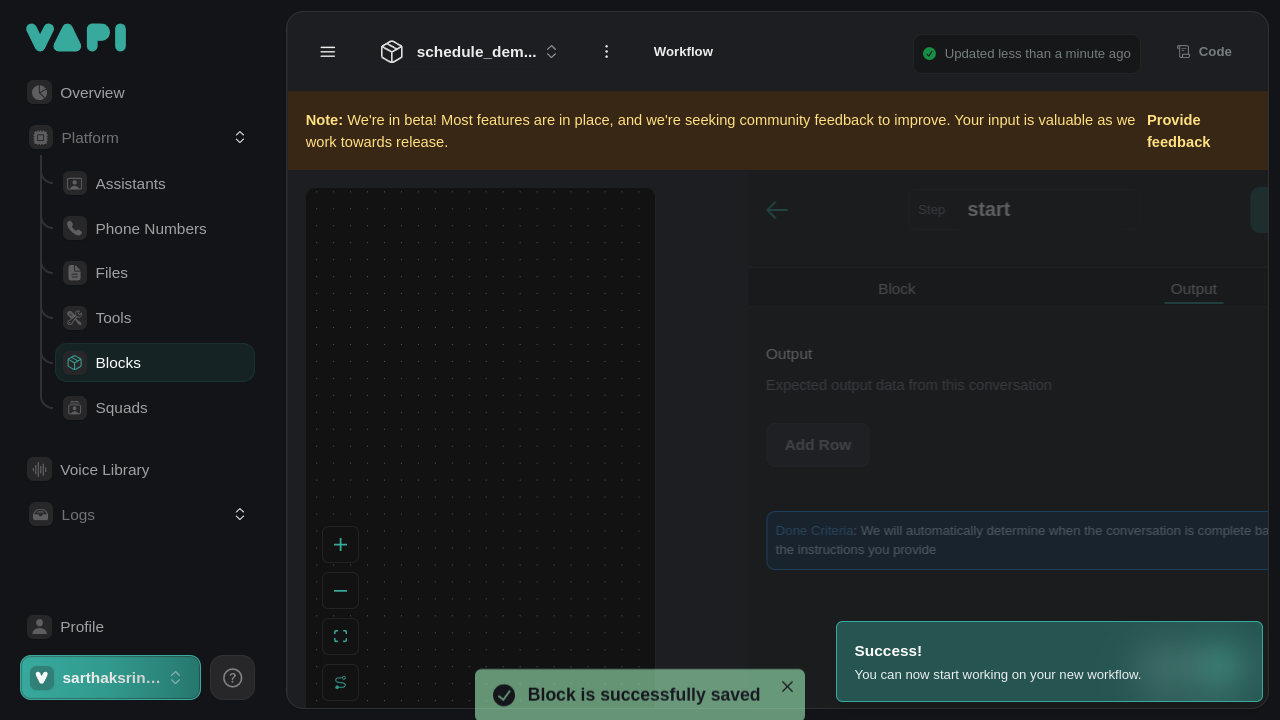
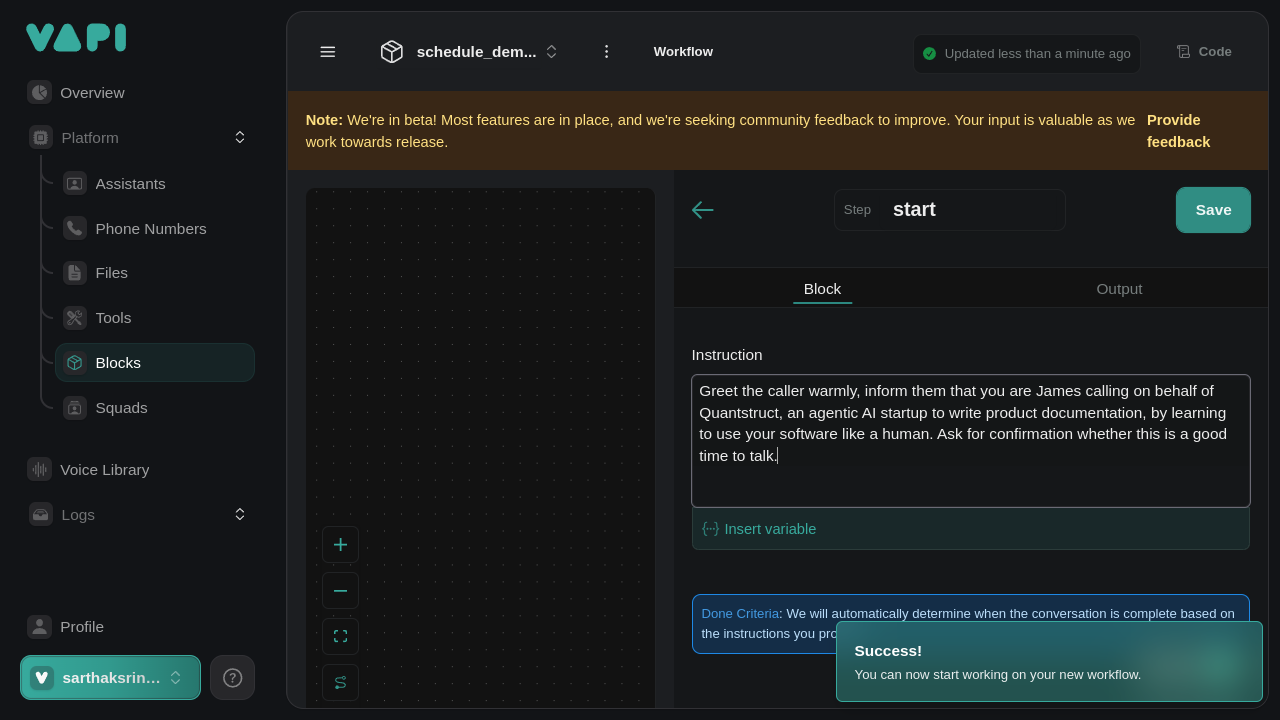
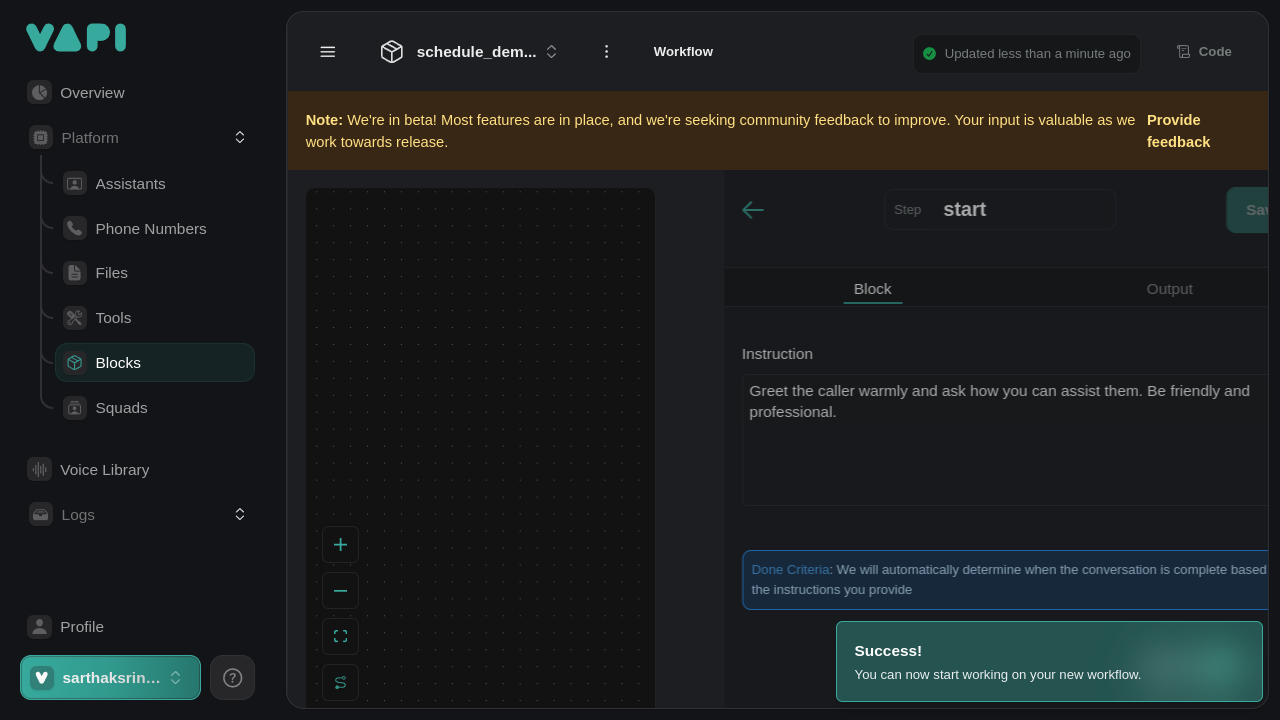
Step 5: Configure the Start Block
The Start Block is where the conversation begins.-
Click on the Start Block to open the configuration panel.
-
In the Text Area, replace the default message with a greeting and an opening question:
-
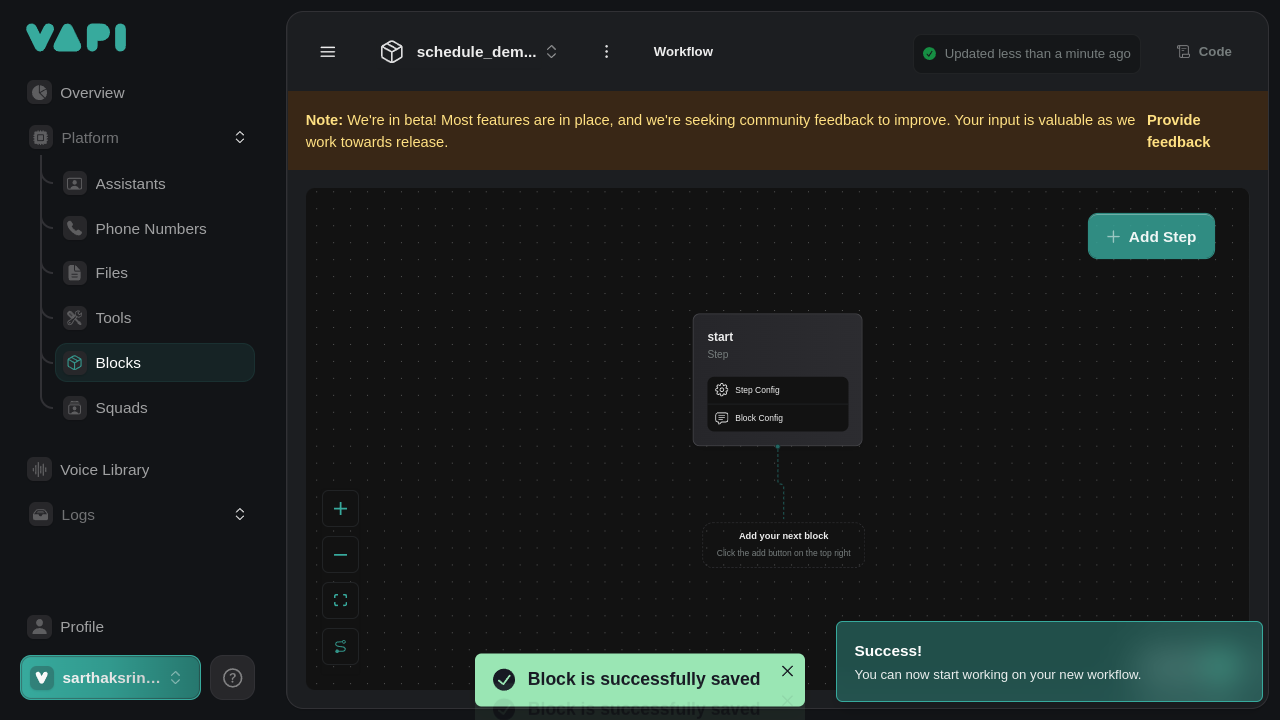
Click “Save” to save the changes to the Start Block.
Step 6: Add Flow Controls
Flow controls allow the conversation to branch based on user input.-
Click on the “Flow Controls” button in the toolbar.
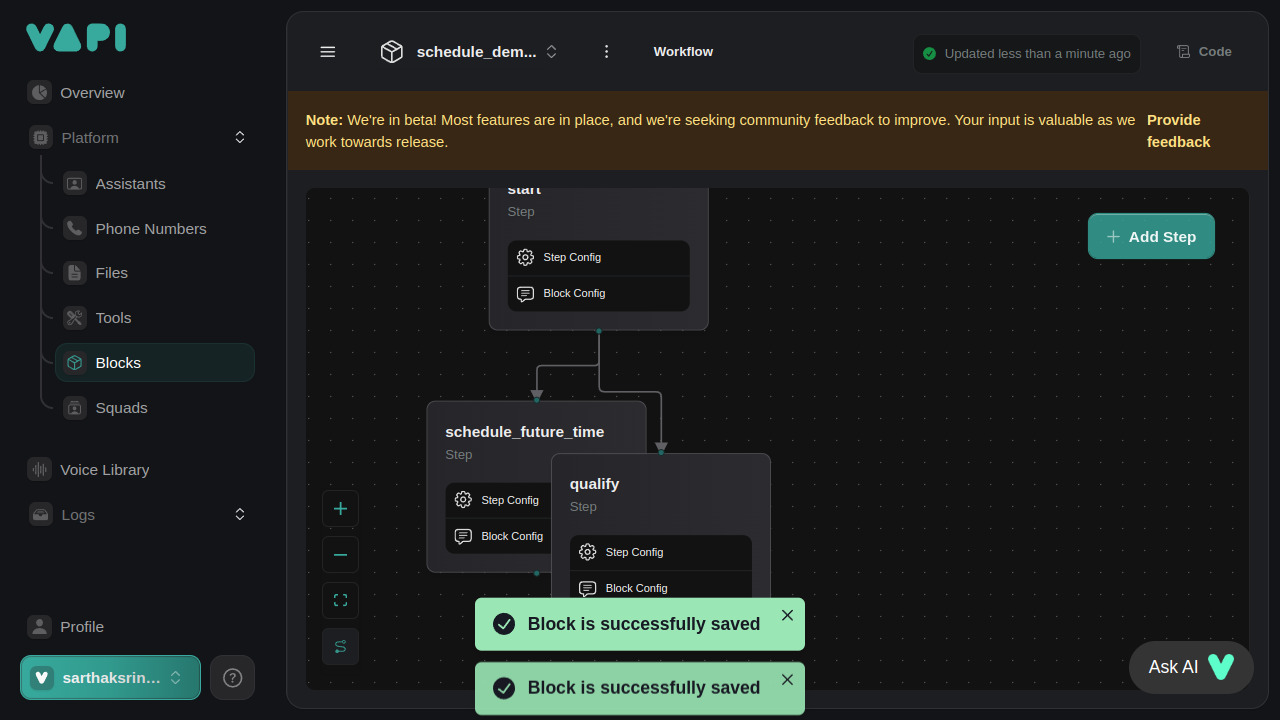
- Select the appropriate flow control (e.g., “Condition”) and drag it onto the canvas.
- Configure the condition to check the user’s response (e.g., if the user says “Yes”).
-
Repeat the process to handle different responses as needed.
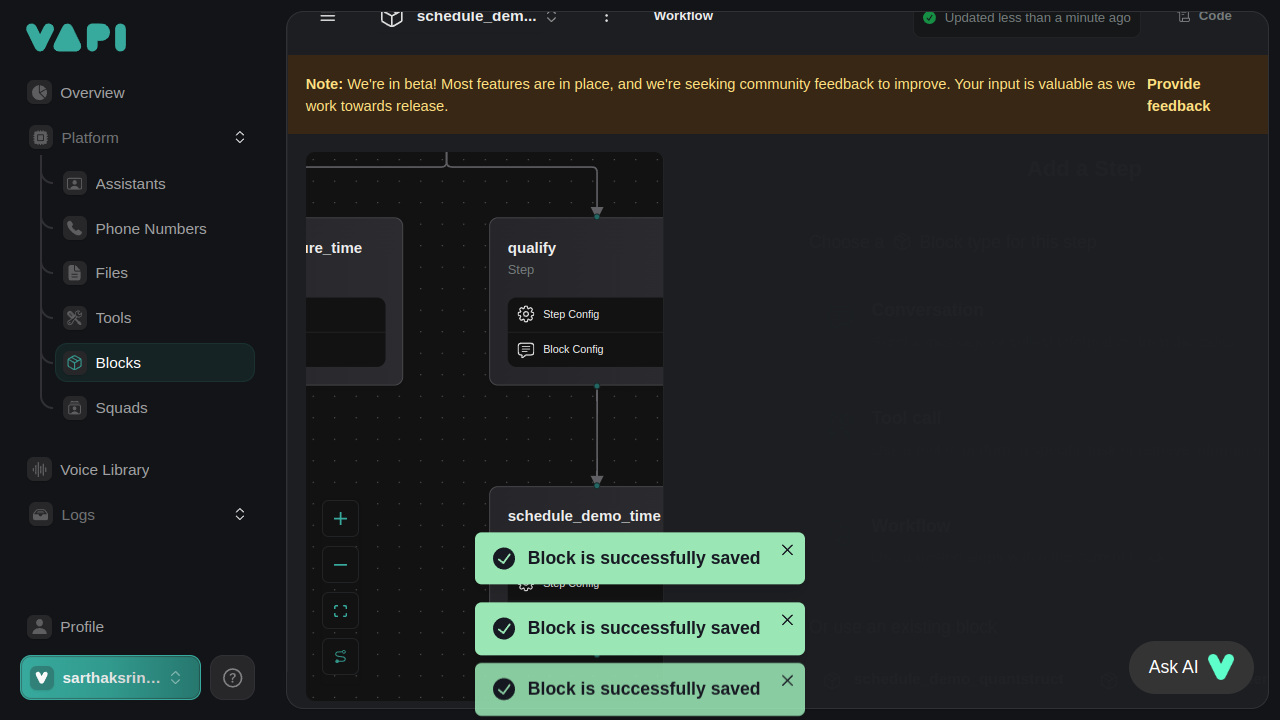
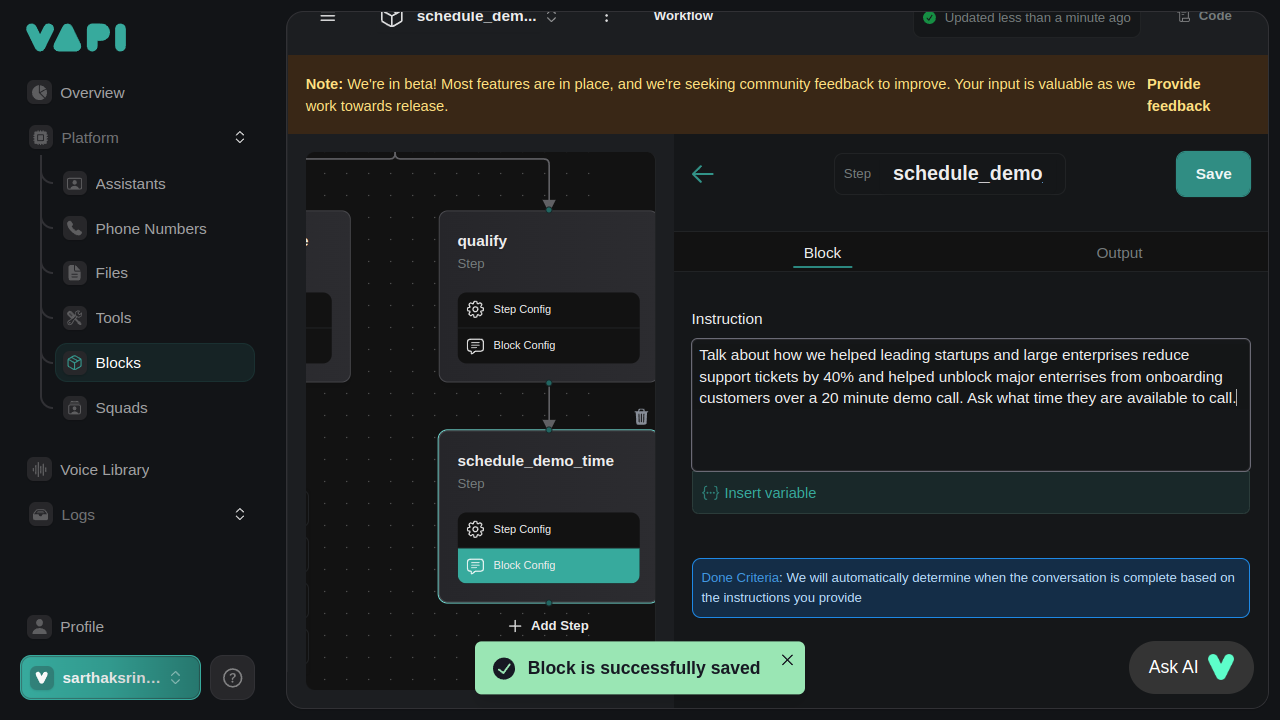
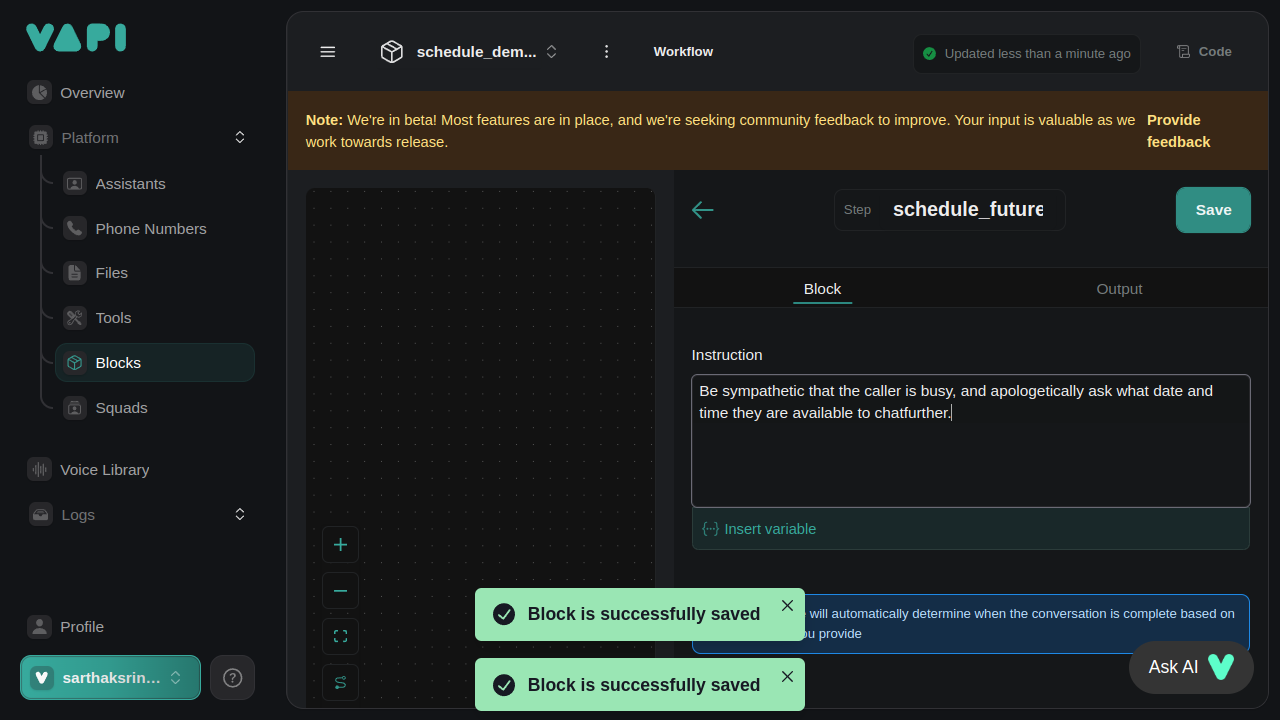
Step 7: Add the Schedule Demo Block
Add a Tool Call Block that will handle the demo scheduling.- Click on the “Blocks” button and select “Tool Call Block”.
- Drag the Tool Call Block onto the canvas and connect it to the appropriate flow control branch.
-
Click on the Tool Call Block to configure it.
-
In the configuration panel, enter the prompt:
-
Click “Save” to save the configuration.
Step 8: Insert Variables
Variables personalize the conversation by using dynamic content.- In the message text area, click on the “Insert Variable” button.
-
Select “DateTime” or the appropriate scheduling variable.
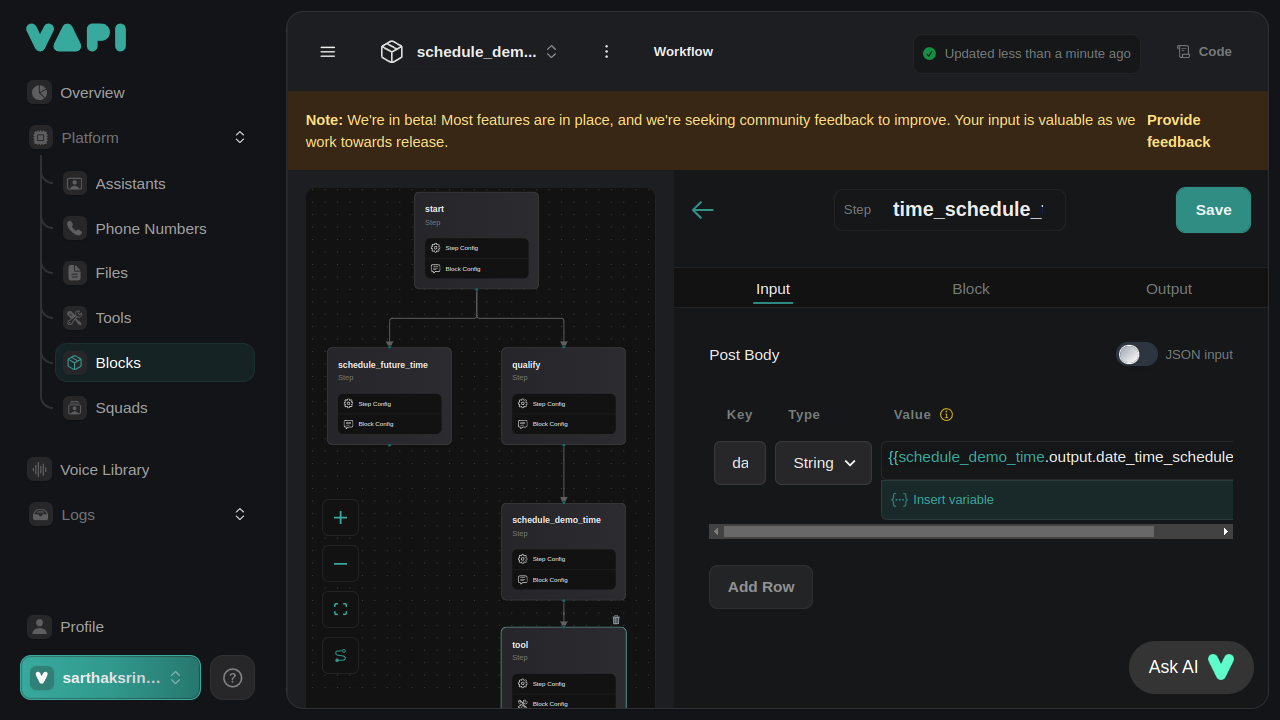
-
The variable placeholder will appear in your message, like
{{schedule_time}}.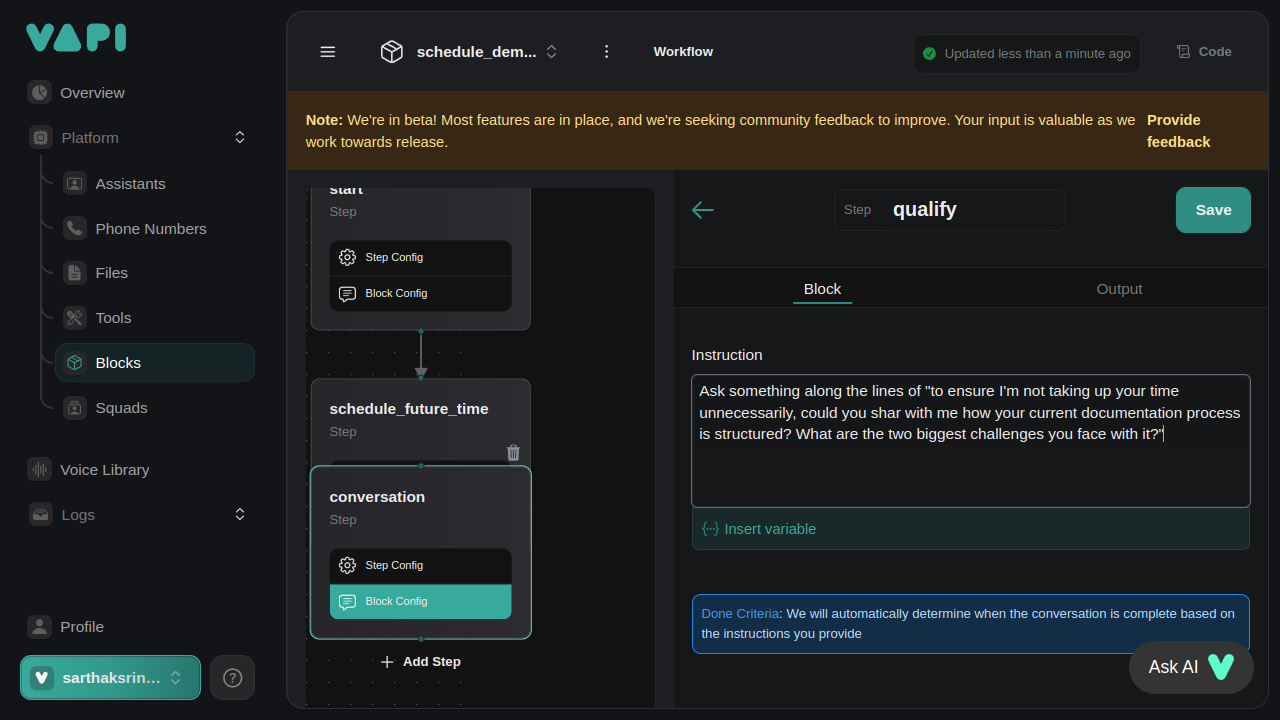
- Click “Save” to apply the changes.
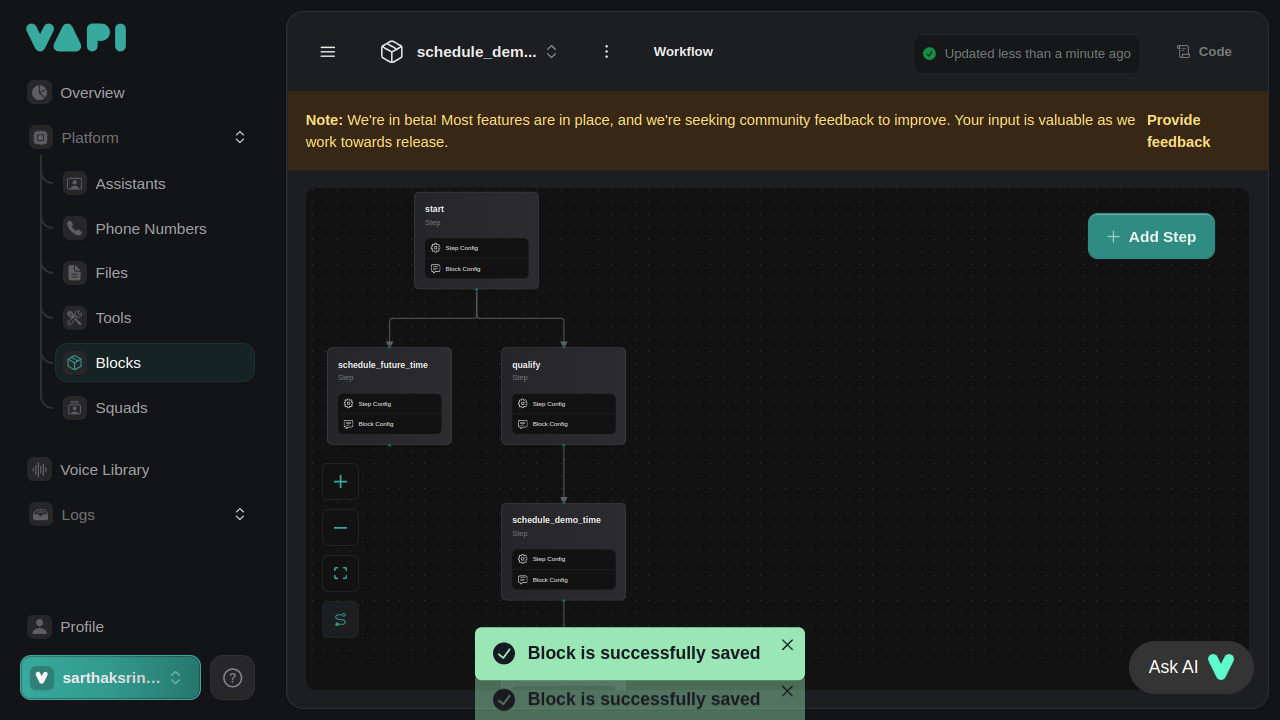
Step 9: Save and Create the Workflow
- After configuring all blocks and flow controls, ensure all connections are properly linked.
-
Click on “Save” in the top-right corner to save the workflow.
-
Click on “Create Workflow” to finalize.
-
Your workflow is now created and ready to be tested.
Conclusion
You’ve successfully created a Blocks Workflow on the Vapi platform to schedule demos with Quantstruct. This workflow:- Greets the user and inquires about their interest.
- Uses flow controls to handle different responses.
- Integrates a tool to schedule demos.
- Personalizes messages with variables.
Additional Resources
- Vapi Documentation: Visit the official docs for more in-depth information.
- Support: For assistance, contact support@vapi.example.com.
Note: While this guide focuses on creating workflows using the Vapi platform’s visual interface, Vapi also offers an API for programmatic workflow creation and management. Refer to the official Vapi API documentation for details on how to leverage the API in your development projects.